


Party Tips

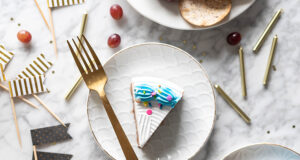
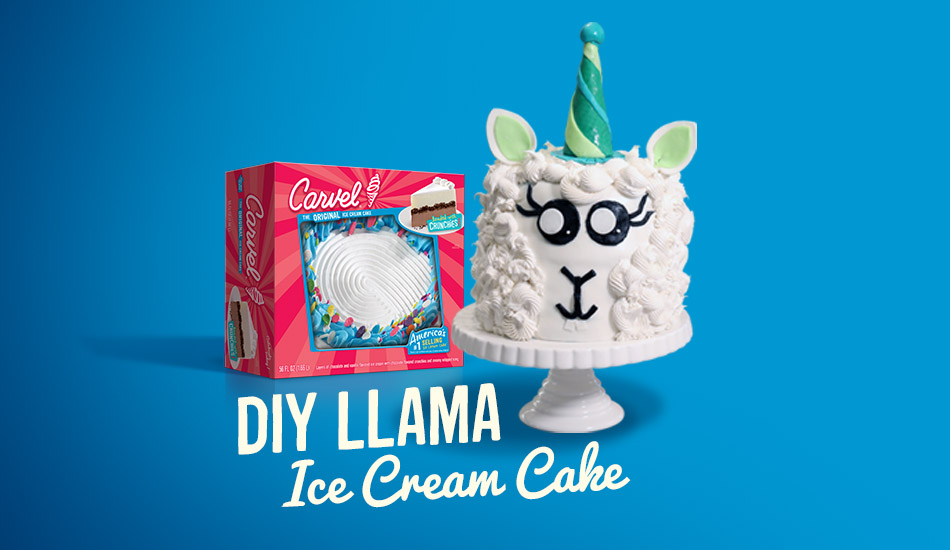
DIY Llama Cake
Do you have a passion for llamas and skill with fondant? Then this easy llama cake is right up your alley. Start with two Carvel ice cream cakes and then use piping and fondant to create a charming llama. She’s got long lashes, fluffy “fur,” and a party hat. Look no further for llama birthday cake ideas. I Love Ice Cream Cakes has you covered.
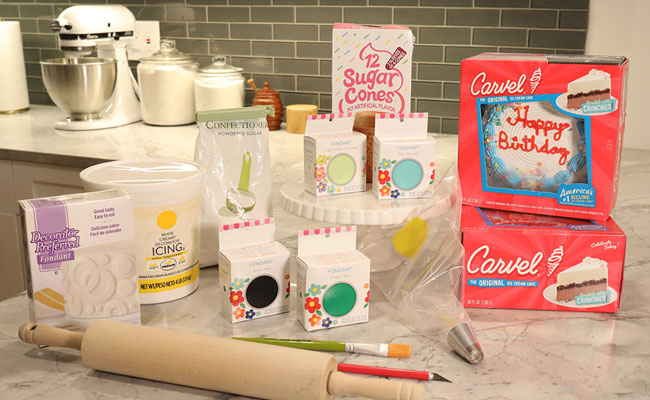
Ingredients:
- Two Carvel Happy Birthday Ice Cream Cakes—8” Round
- Find them at your local grocery store.
- Check out our product locator
- White, black, and three pastel fondants of your choosing
- Sugar cones
- Food safe markers
- Icing
- Powdered sugar
- Knife (or crafting knife for even more precision)
Supplies:
- Icing bag and piping tips
- Rolling pin
- Toothpicks or wooden skewers
- Cake pedestal or plate
- Paintbrush
- All items can be found at your local craft store.
1. Gather your ingredients and supplies, and clear space in your freezer for the Ice Cream Cakes.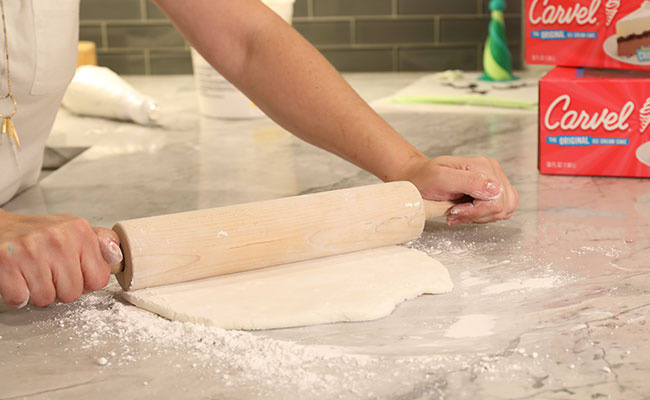
2. Start with the fondant work. Use powdered sugar on your rolling surface and on the rolling pin. You’ll want to roll out a white piece large enough to cover the two stacked cakes. This will be the Llama’s “face.”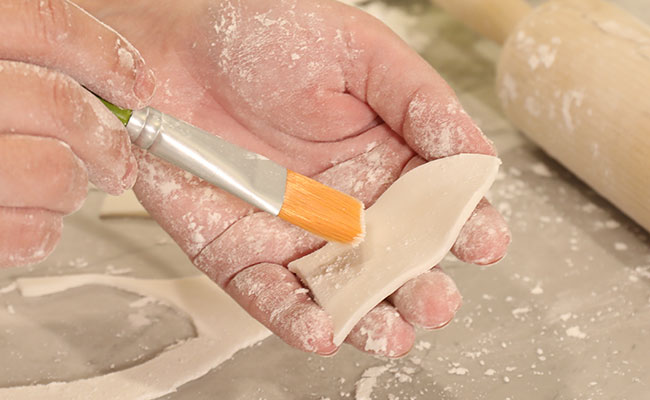
3. Next, using the extra white fondant, cut out the ears and teeth. Use a piping tip to cut out larger and smaller eye glints. (Pro Tip: Use the paintbrush to brush away extra powdered sugar.)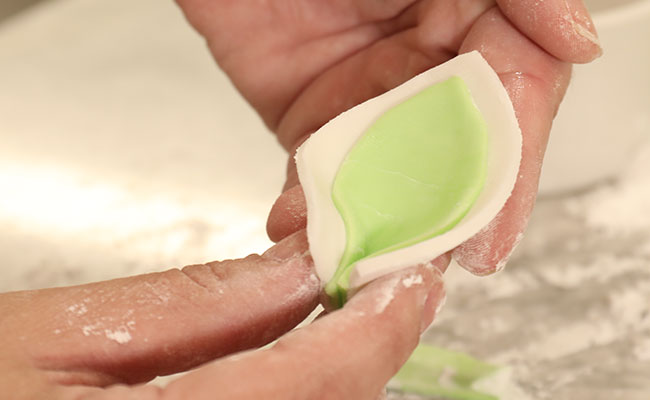
4. Pick a color for the inner ears and cut them slightly smaller than the white ears. “Glue” them together using a small amount of water and a paintbrush. Pinch along the bottom to round the ears out. Secure each ear with a toothpick.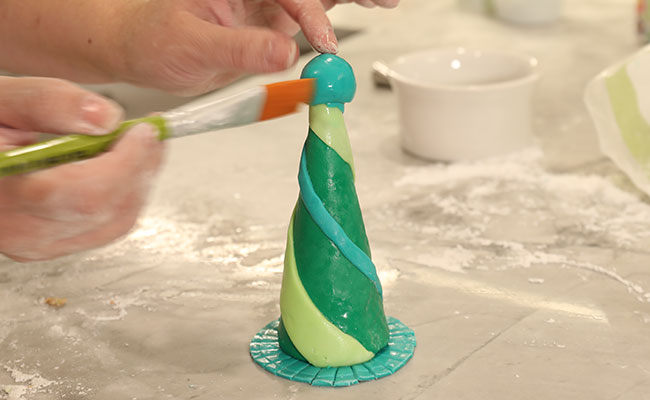
5. For the party hat, roll out 3 colors of your choosing and cut them into strips. Create your design by wrapping them around the sugar cone. Attach the fondant cone using water and a paintbrush. Set aside to dry. (Pro Tip: If you don’t want to make the hat from scratch, purchase one online or from a local party supple store. Just don’t eat it!)
6. For the eyes, you’ll need to roll out the black fondant. Cut out circles for the eyes, eyelashes and mouth/nose. (Pro Tip: Use a napkin ring or a water bottle to get perfect circles.)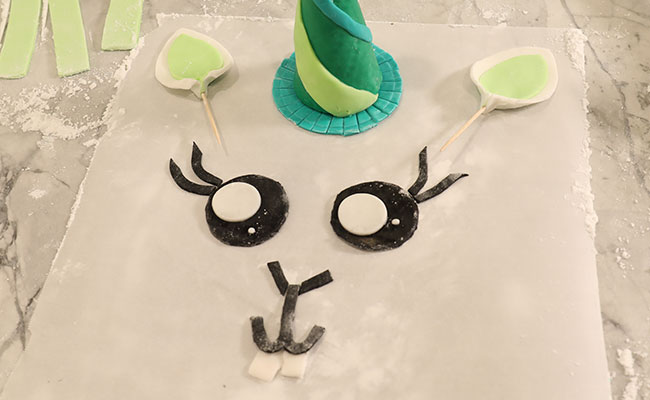
7. Set aside your fondant work and have it ready to apply.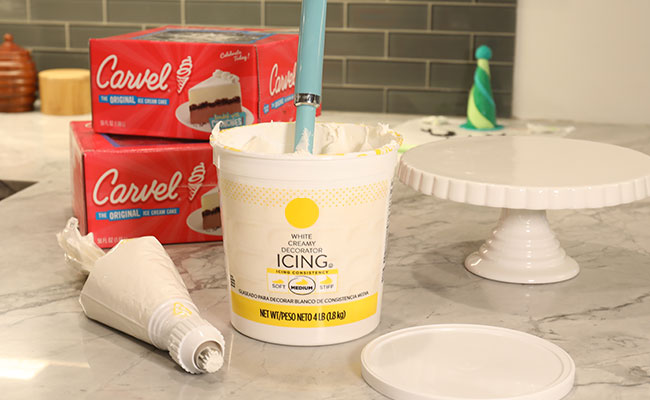
8. Ready your icing in the piping bag. (Pro Tip: If your icing isn’t thick enough, mix in some powdered sugar.)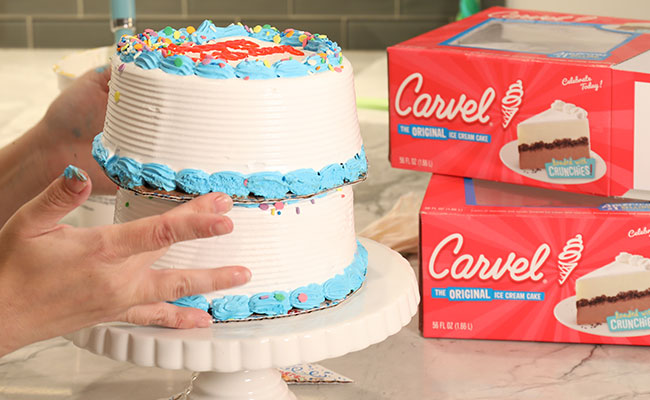
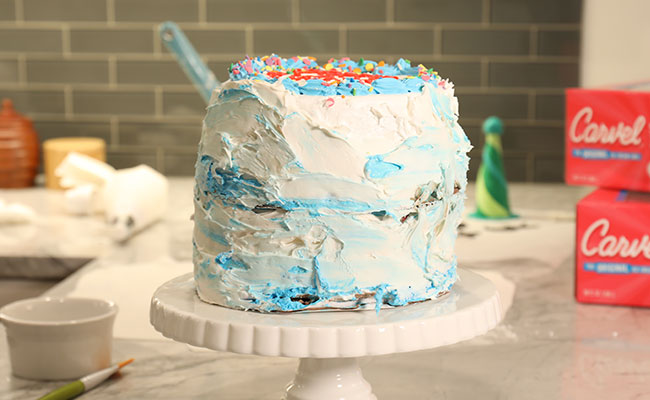
9. Remove the cakes from the freezer. Use scissors to cut away cardboard so that it is the same shape as the cake. Place the first cake on your cake stand or plate and stack the second cake precisely on top of the bottom one. Work quickly once the ice cream cakes are out of the packaging and spread the existing blue and white frosting around the cakes with a spoon to create a layer for the fondant to stick to.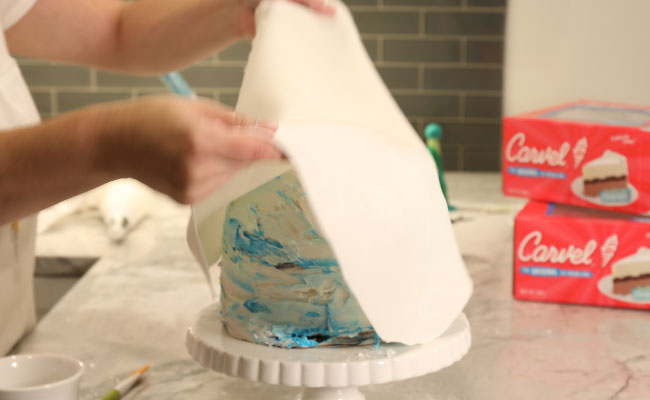
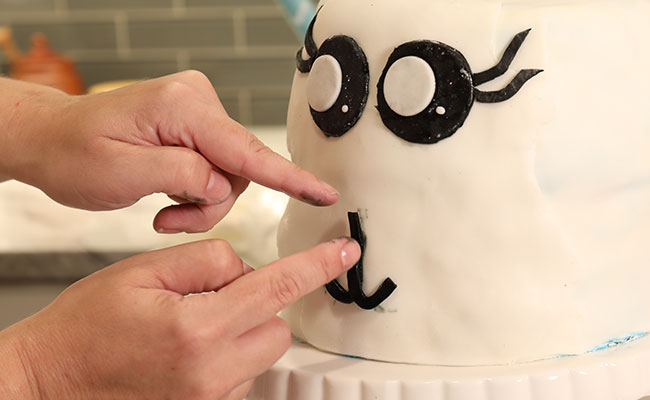
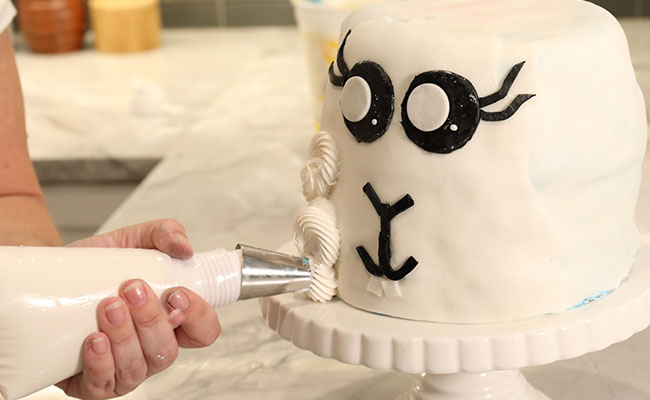
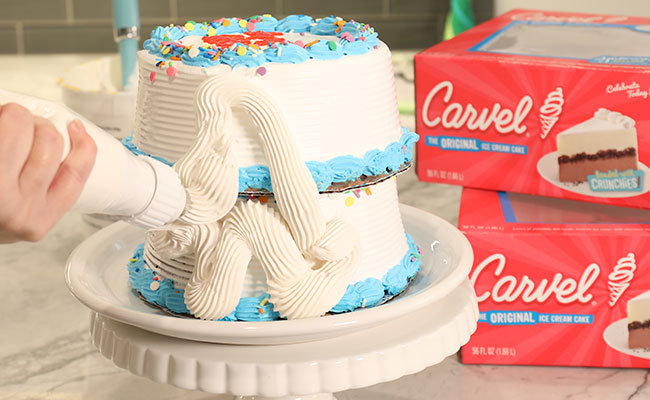
10. Once your cakes are stacked, place the fondant to create the facial features, party hat, and ears with the paintbrush and water. Then use the icing in the piping bag to cover the rest of the cake. (Pro Tip: Use different piping tips to create a variety of textures for the “fur.”)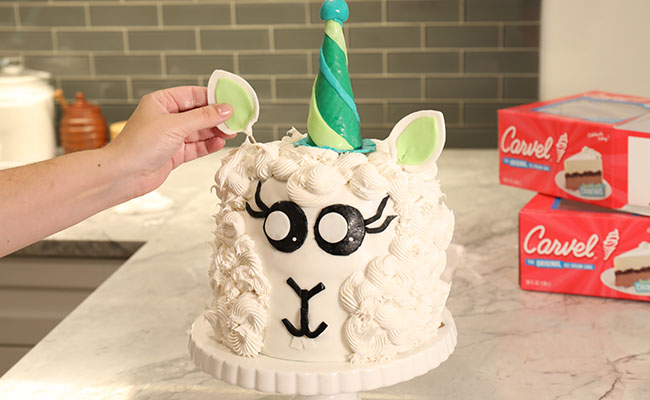
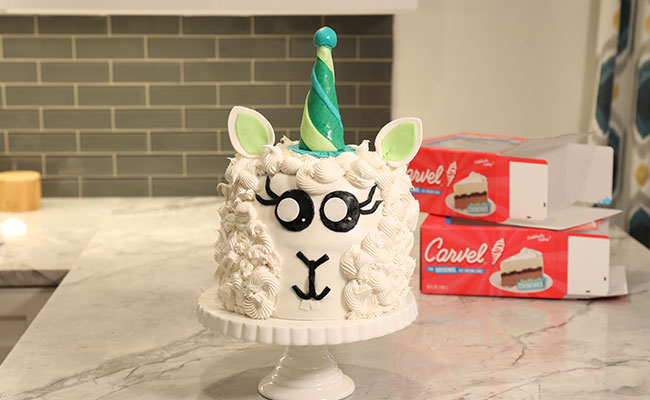
11. After the piping work is done, your Llama should be dressed for the party. Place it in the freezer until it’s time for the birthday song!
Want to create your own Llama Cake? Download a coupon for Ice Cream Cake here.
Not sure where to shop? Find ice cream cakes online or at a grocery store near you.
Use our product locator